Monthly Archives: August 2007

Another 4 x 4 card

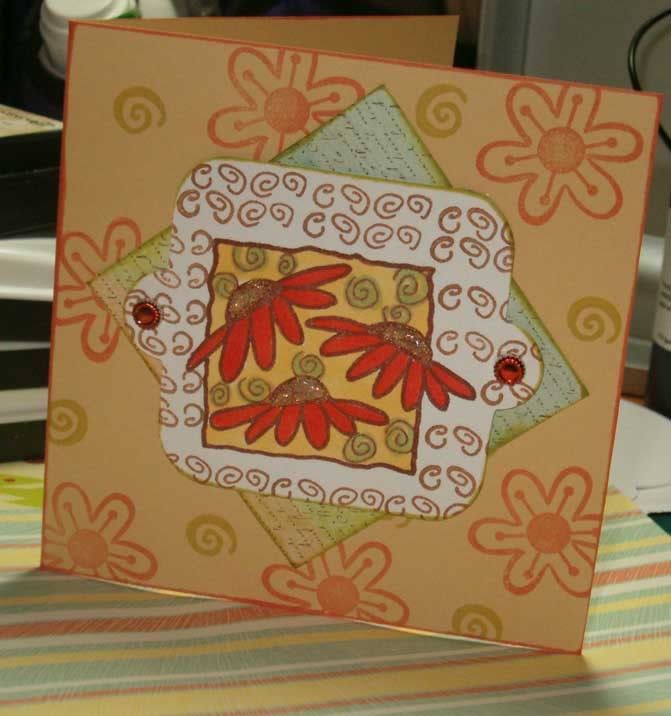
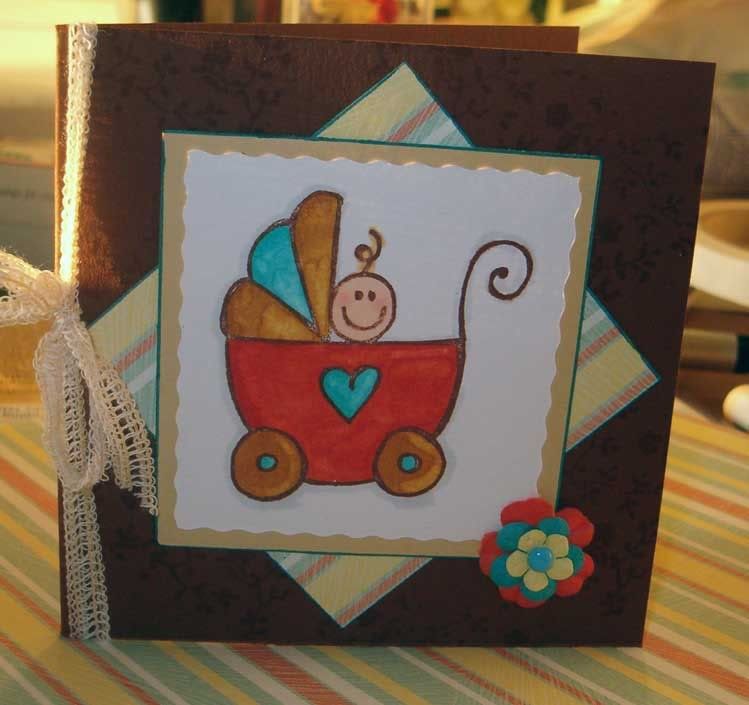
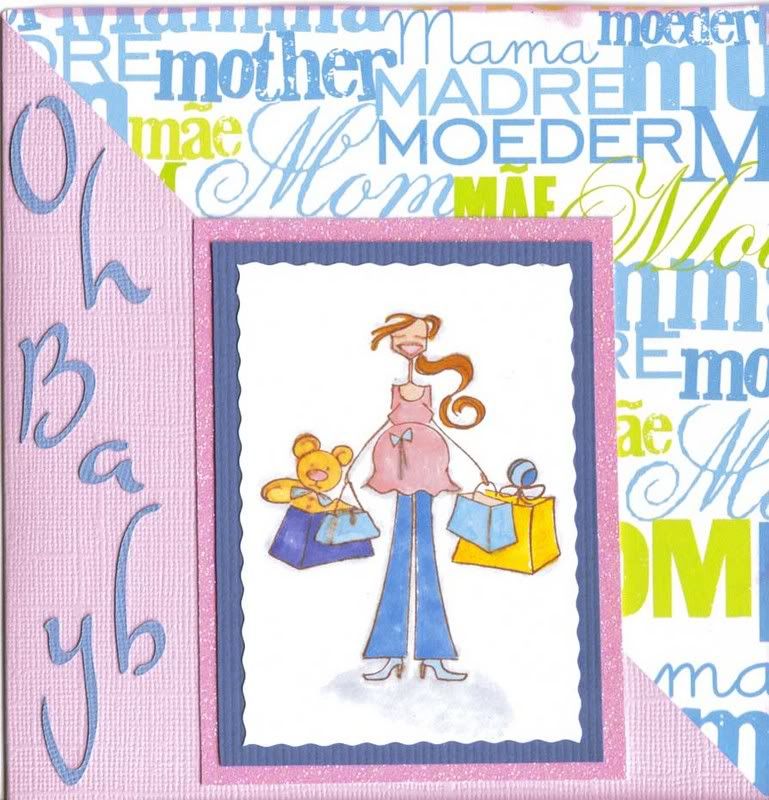
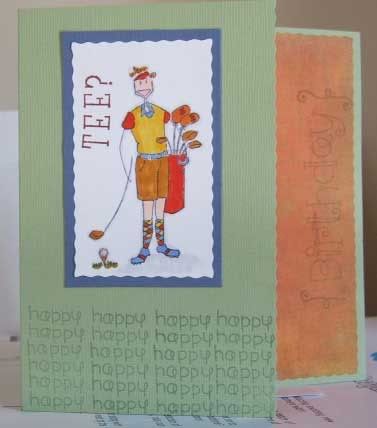
made this evening, I’m trying to do a selection of them to go in a giftbox for a friend.
It’s just made using my Teddybella Stamp, Latte Cardstock some Prima Aylssa daisies and….yes, COPICS. Trimmed in the usual way with my flutted blade.
I had a small piece of green pearl paper left over from making an envelope with my lovely Crafter Companion Enveloper, so I added it down the side. Tiny stamp is from Paper Salon, corner is from HA Quatro set stamped in Brilliance Pearlescent Purple.
I am really tired tonight, so sorry about the lack of much of a description.

1 Comment

Filed under Brilliance, Card, COPIC, Paper Salon, Prima, Stamping Bella

Big thanks to:

Ros at Stamp and Scrape for crediting our clear embossing powder…..and also to Hazel for the heads up on it.

If you haven’t tried any give it a go, it really is a very nice Embossing Powder.

Thanks girls.

1 Comment

Filed under At the Galaxy, Family and Friends

Flower Card

Supplies:
  • Latte Cardstock (Papermania)
  • White Cardstock (Papermania)
  • Lucia 6×6 paper (7gs Baja Journey Pack)
  • Paper Salon Build a Bloom Set
  • Coneflower Stamp by Magenta
  • Swirl (Hero Arts “K” clear stamp set)
  • Art Brown Memories Permanent Ink
  • Coffee Bean Brilliance Dewdrop
  • Whispers Savoy Green Dye Ink
  • Whispers Orange Dye Ink
  • Cricut Machine
  • Mini Monograms Cricut Cartridge
  • Mini brads
  • Scor-it board
  • Diamond Stickles
  • and, yes, COPIC’s (I can’t image how I did without them!). Chinese Orange, Lime Green and Buttercup Yellow.

How to:-

  1. Cut a piece of the Latte 8×8 cardstock in half and score into a 4×4″ cardblank.
  2. Stamp the flowers and swirl (Paper Salon set) over this using the Savoy Green and Orange Whispers. Run the Orange ink around the edges.
  3. Cut a piece of the Baja Journey paper approximately 2.5×2.5″, ink with the Savoy Green ink, and place at an angle on the cardblank.
  4. Cut the central white piece with the Cricut and the Mini Monograms Cartridge. I cut mine to 2 1/2″ I think.
  5. Stamp on the Coneflowers in Memories Art Print Brown, and colour in with the COPIC’s, then stamp the swirls (HA “K” set) in Coffee Bean Brilliance. Run the Savoy Green ink around the edges.
  6. Place the plain silver brads in the holes and colour with the Chinese Orange COPIC.
  7. Colour the cone parts of the main image with Diamond Stickles.

1 Comment

Filed under COPIC, Magenta, Memories Ink, Paper Salon, Papermania, Stamping, Whispers Dye Ink

Oh Baby

Supplies:

How to:

  1. Take a piece of the dark brown cardstrock from the Neutral pack, and cut in half, the score in half to make a 4 x 4″ card blank.
  2. Stamp the Floral Heart over the card blank using Barn Brown.
  3. Take a scrap of white cardstock and trim with the flutted blade.
  4. Stamp the baby in the pram image from the stamp sheet in Memories black, and colour in with the COPIC’s.
  5. Matt this on to a latte piece of cardstock from the Neutrals pack.
  6. Run the Blue Metallic Marker around the outside of the matt.
  7. Cut a piece of the stripe paper the same size as the latte, and run the Blue Metallic Marker around the outside for definition.
  8. Place on the cardblank at an angle, and place the image over the top square on.
  9. Layer orange, blue and yellow Primas together, and place a blue brad in the centre. Add this to the corner of the main image matt.
  10. Tie a piece of the beige fibre around the spine.

Leave a comment

Filed under Aud's Stamps, Basic Grey, Card, COPIC, Markers and Colouring, Memories Ink, Papermania, Prima, Purple Cow, Scor it, Stamping, Whispers Dye Ink

Another Xmas card

Supplies used:

  • Red Bazzill
  • Light Green Bazzill
  • Chloe’s Closet Xmas Tree Paper
  • Brr! stamp by Savvy Stamps
  • Snowman Stamp by PM
  • Red/green jewels and green stars from the PM Xmas Embellishment kit
  • COPIC markers Pale Olive (YG95), Chinese Orange (YR09), Cadmium Red (R27), Yellow Green (YG03), Cool Gray No. 1 (C1) and also pale blue Sugarloaf marker
  • Glossy Accents
  • Scor-it board
  • Black Memories Permanent Ink
  • Purple Cow A5 cutter (with flutted blade)

How to:-

  1. Make a card blank from the red cardstock (measurements 4 1/2 x 11″).
  2. Then cut a piece of light green cardstock measuring approximately 4 x 5 1/4″.
  3. Add a piece of the Tree paper measuring approximately 3 3/4 x 5″.
  4. Add a horizantal band with the light green cardstock ( approximately 2 1/4 x 4 1/2″). Add a slightly smaller band of the red over this and stamp on Brrr!! in Memories Black.
  5. On a piece of white cardstock stamp the Snowmen in Memories Blank and colour in with the COPICS and PM sugarloaf marker.
  6. Cut out this image using the flutted blade and mount towards the top right hand side of the pattern paper.
  7. Add on red and green jewels in the corners, and a few green stars.

1 Comment

Filed under Anitas Stamps, Card, COPIC, Gems, Glossy Accents, Purple Cow, Stamping

More retail therapy for me

I ordered yesterday some Aileen’s Tack it Over and Over for my Stamping Bellas, and the latest Stamp It mag.

Then tonight, I’ve made a wise decision to get the Enveloper and some of Crafters Companion Pearl paper for it.

I have been humming, and haaing over getting it, but now I really am pleased that I’ve made the investment. It will mean that I only have to buy 6×6 or bigger envies in future. At the moment, I have loads of smaller sized cards that need to have envelopes, so I can’t wait to get it.

1 Comment

Filed under All me me me, Retail Therapy

Not a COPIC insight (Bitten by the Bug Challenge)

I probably need to photograph this card, as a flat scan isn’t doing it justice. Still for now, it will have to do.

Supplies:-

Using Scor-it I created a 6×6 card blank, and cut the front at a diagonal.

Next cut the “kiss kiss hug hug” image using Base Camp Cartridge with Dave (my Cricut), and added to the card.

Placed Angel Kisses down the side and stamped one of the corner images on bottom left hand side.

Cut down the blue floral paper with the Purple Cow cutter, stamped the same corner stamp on each corner, then added an Angel Kisses to the top right hand side. Also flutted the side and top of the card.

Pink Pearlidoodles were added to all of the flower centres.

For the inside I fluted a piece of the blue floral paper

Leave a comment

Filed under Base Camp, Bitten by the Bug, Card, Cricut, DCWV, Hero Arts, Pearlidoodles

Teddybella

this is the card I’ve just done for one of my friends who is expecting in December.
Supplies:

How to:

  • Use the Scor-it to make a 6 x6 card blank from the light pink bazzill. Then cut the front cover from corner to corner.
  • Add the text paper to the inside of the card, and run the Whispers Pink Dye Ink around the edges.
  • Stamp the Teddybella onto white cardstock and colour in, cut out with the fluted blade on the Purple Cow Cutter. Matt onto dark blue cardstock, and then Cupcake sugar coated cardstock.
  • Decide where you want the image to be on the front, turn over, and make a small mark so that you know who far to put the adhesvie. Stick in place.
  • With Dave (my Circut) and the Jasime Cartridge cut out “Oh Baby” at 1 1/4 on (speed=med, pressure=5 and depth 4), stick down using the left hand side of the front using the Sakura quickie pen.

1 Comment

Filed under Card, COPIC, DCWV, Doodlebug, Stamping, Stamping Bella

Golfafella card

Supplies:

How to:

  1. Stamp the Golfafella onto the white cardstock and colour in with the COPIC markers. Cut out using the Purple Cow cutter and the fluted edge blade. Mount onto dark blue cardstock.
  2. Make a 6″ square card blank using the Scor-it board, and cut the front down by approximately 1/3rd. I used the fluted edge for interet.
  3. Take a piece of the organe from the Mellow stack and trim all sides a little with the fluted blade. Adhere to the card blank leaving a border all around. Stamp “Birthday” from the Celebration set down the right hand side. Since taking the picture I coloured some of the word in with Sugarloaf markers and Stickles Diamond.
  4. On the left hand side stamp “happy” all the way across the front in Azure Seas Whisper Dye Ink.
  5. Mount the matted Golfafella image to the front of the card, and stamp “Tee?” as per the picture. I’ve since also added a dot of Pearl Pearlidoodles on all four corners of the matted image.

1 Comment

Filed under Basic Grey, Card, COPIC, For Sale, Memories Ink, Stamping, Stamping Bella, Whispers Dye Ink

YAY, I have some Stamping Bellas’

for ages I felt that I was really the only person in my stamping world that didn’t have any Bellas’……..well, I do now!

Today took a quick trip to Creative Pastimes and got Golfafella (kfe6) and Teddybella (kbe34).

I’ve just finished a card with my fella, which has been uploaded onto the shop and Galaxy Gifts site, and I will pop it on here tomorrow.

The Teddybella, is a fabbie expectant lady with a teddy in a bag, and I thought it would be perfect for my mate Mickey, who’s growing a lovely little bump at the moment.

Have to say, I am really delighted with the quality of the Bellas’, but wish they had a little bit more rubber around them so that I could easily mount onto E-Z Mount without gumming up my scissors. I might search out some tack it over and over when I have time tomorrow.

I now am wishing that I’d got the car bella, so I might need to go back next week to bag that.

They work perfectly with COPICS (sorry, mentioned them again).

Lydia is doing her 7th specality mission tomorrow morning, 3 more dives to go and she’ll be a fully fledged Master Seal.

Leave a comment

Filed under Stamping Bella